How to Solder FPC Cable to Board: A Step-by-Step Guide
Soldering FPC cables to boards might seem daunting, but with our step-by-step guide, you’ll master this essential skill in no time!
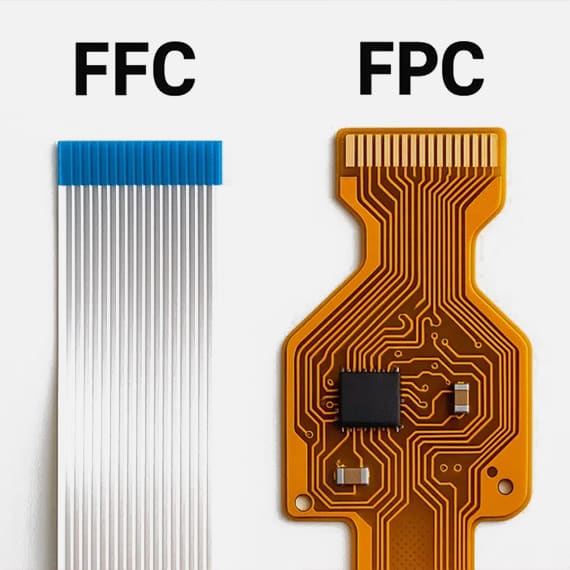
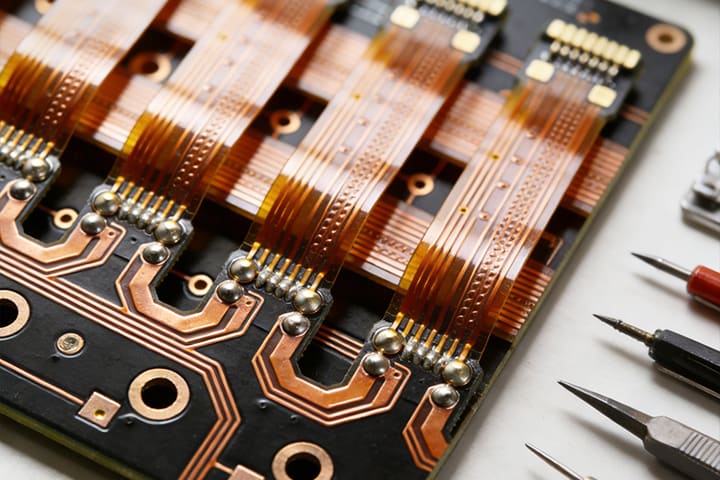
FPC Cables CCD soldering

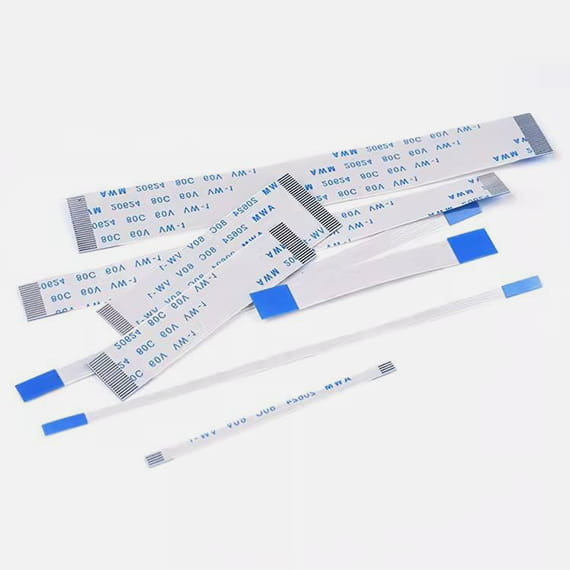
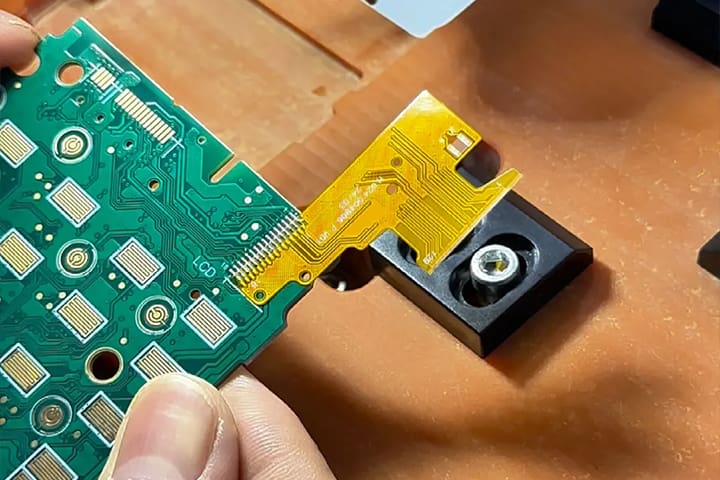
Flexible Printed Circuit (FPC) cables are designed to offer flexibility, thinness, and the ability to be folded or twisted without causing damage. They are typically composed of a flexible plastic substrate with copper traces and can be found in various configurations depending on the application. The versatility of FPC cables makes them an excellent choice for connecting components in tight spaces where traditional wiring would be impractical. Understanding their composition and function is the first step in mastering the art of soldering them to a board.
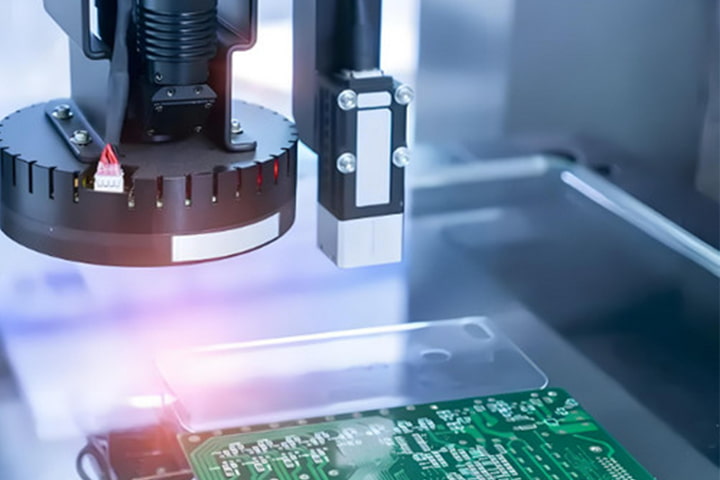
When it comes to soldering FPC cables, precision is paramount. The delicate nature of these cables requires a steady hand and a keen eye for detail. Unlike traditional soldering, where robustness and strength are often the focus, soldering FPC cables demands a lighter touch to avoid damaging the thin copper traces and the flexible substrate. The process involves carefully aligning the cable with the board, ensuring that each contact point is perfectly positioned before applying heat and solder.
CCD (Chip-on-Flex) soldering is a specialized technique used for attaching integrated circuits directly to an FPC. This method is commonly employed in compact devices where space is at a premium. CCD soldering involves precise alignment and bonding of the chip to the flexible circuit, often using advanced equipment and techniques. Mastery of CCD soldering can greatly enhance your ability to work with FPC cables and expand your skill set in the realm of electronic assembly and repair.
Preparing the FPC Cable for Soldering

Proper preparation of the FPC cable is crucial for achieving a successful soldering job. Begin by carefully inspecting the cable for any signs of damage or contamination. Even minor imperfections can lead to poor connections or failures. Use a magnifying glass or a microscope to examine the copper traces and ensure that they are intact. Clean the cable with isopropyl alcohol and a lint-free cloth to remove any oils or residues that could interfere with soldering.
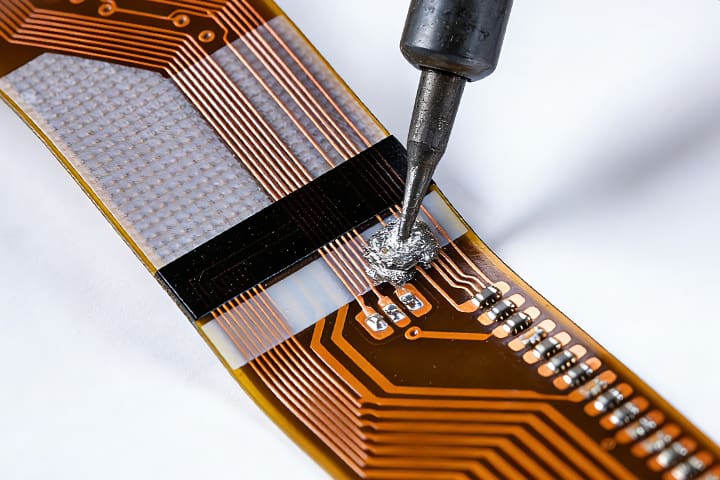
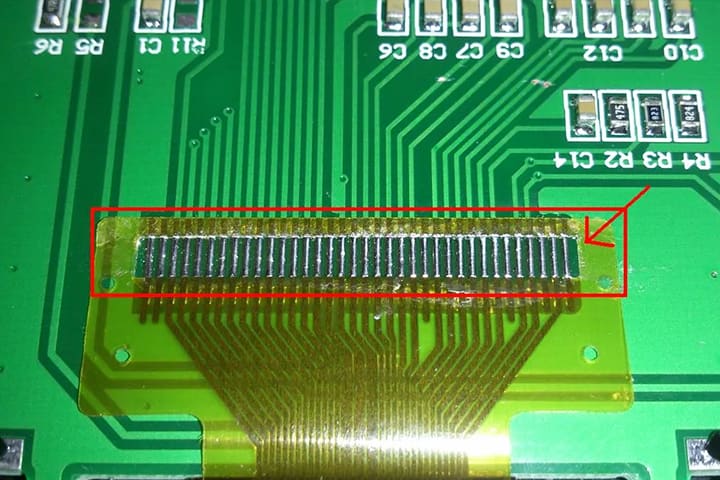
Next, you need to strip the insulation from the ends of the FPC cable to expose the copper traces. This process requires precision to avoid cutting through the traces themselves. Use a sharp blade or a specialized stripping tool designed for FPC cables. Gently score the insulation around the perimeter of the cable and peel it away to reveal the copper. Take care to avoid bending or twisting the cable excessively, as this can weaken the traces and lead to breakage.
Once the copper traces are exposed, it’s essential to tin them before soldering. Tinning involves coating the exposed traces with a thin layer of solder to facilitate a better connection with the board. Heat your soldering iron to the appropriate temperature (typically around 350°C or 662°F) and apply a small amount of solder to the tip. Touch the soldering iron to the copper traces and allow the solder to flow evenly over the surface. This step not only ensures a stronger bond but also helps to prevent oxidation of the copper.
Common Soldering Techniques and Tips
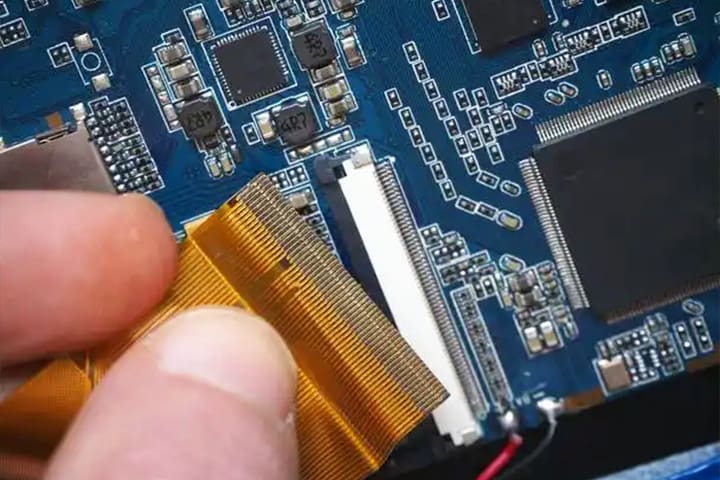
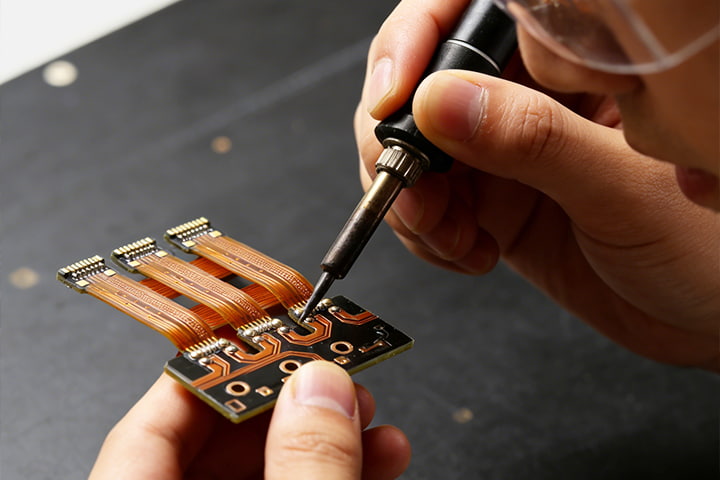
Soldering FPC cables to boards requires a combination of skill, patience, and the right techniques. One of the most common techniques is the use of a fine-tipped soldering iron. The fine tip allows for precise application of heat and solder, which is essential when working with the small and delicate contact points on an FPC cable. Make sure that your soldering iron is properly calibrated and that the tip is clean and well-maintained to ensure optimal performance.
Another effective technique is the use of a soldering jig or fixture. A jig can hold the FPC cable and the board in place, freeing up your hands to focus on the soldering process. This is particularly useful when working with small components that require precise alignment. A jig can also help to prevent accidental movement during soldering, which can lead to misaligned connections and potential damage to the cable or board.
Flux is an essential component in the soldering process, as it helps to clean the surfaces being soldered and promotes better adhesion of the solder. Apply a small amount of flux to the contact points on both the FPC cable and the board before soldering. This will help to remove any oxidation and improve the flow of solder, resulting in a stronger and more reliable connection. Be sure to use the appropriate type of flux for your specific application, as different types of flux are designed for different materials and conditions.
Troubleshooting Common Soldering Issues
Despite your best efforts, soldering FPC cables to boards can sometimes result in issues that need troubleshooting. One common problem is poor solder joints, which can lead to intermittent connections or complete failures. Poor solder joints are often characterized by a dull or grainy appearance, indicating that the solder did not flow properly. This can be caused by insufficient heat, dirty surfaces, or the use of low-quality solder. To remedy this, reheat the joint and apply additional solder and flux as needed.
Another frequent issue is bridging, where excess solder creates an unintended connection between adjacent traces or pads. Bridging can cause short circuits and damage to the components. To fix a bridge, use a solder wick or desoldering pump to remove the excess solder. Reapply flux and carefully re-solder the joint, ensuring that the solder flows only to the intended areas. Using a fine-tipped soldering iron and working under magnification can help to prevent bridging in the first place.
Overheating is a concern when soldering FPC cables, as excessive heat can damage the flexible substrate and the copper traces. Signs of overheating include discoloration of the cable, burnt insulation, and melted plastic components. To avoid overheating, use a temperature-controlled soldering iron and maintain a steady hand to apply heat only for the necessary duration. If you suspect that the cable has been damaged by heat, inspect it closely and consider replacing it if the damage is severe.
Testing Connections After Soldering
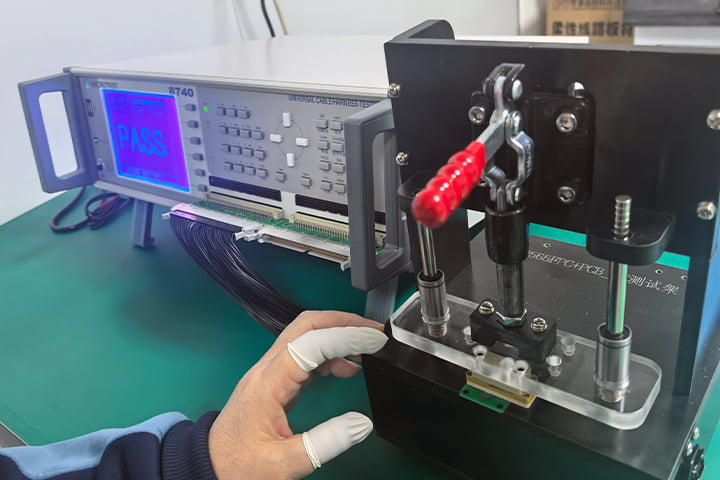
After completing the soldering process, it’s essential to test the connections to ensure that they are secure and functioning correctly. Begin by performing a visual inspection of the solder joints, looking for any signs of defects such as cold joints, bridges, or incomplete solder coverage. Use a magnifying glass or microscope to examine the joints closely and verify that the solder has flowed smoothly and evenly.
Next, use a multimeter to test the electrical continuity of the connections. Set the multimeter to the continuity mode and place the probes on the corresponding contact points on the FPC cable and the board. A continuous beep or a low resistance reading indicates a good connection, while an open circuit or high resistance suggests a problem. Test each connection individually to ensure that all joints are properly soldered and free of defects.
In addition to continuity testing, it’s important to perform functional testing of the assembled device. Power on the device and verify that all components are working as expected. For example, if you have soldered an FPC cable in a smartphone, check that the display, touch screen, and other functions are operational. Functional testing can help to identify any issues that were not apparent during the initial inspection and continuity testing.
Conclusion and Best Practices for Future Projects
Soldering FPC cables to boards is a valuable skill that can greatly enhance your ability to repair and customize electronic devices. By following the steps outlined in this guide, you can achieve reliable and professional-quality solder joints. Remember to take your time and work carefully, as precision is key when dealing with delicate FPC cables and small contact points. Practice and patience will help you to refine your technique and improve your results over time.
For future projects, consider investing in high-quality tools and materials to make the soldering process easier and more efficient. A temperature-controlled soldering iron, fine-tipped soldering tips, and a selection of flux and solder can make a significant difference in the quality of your work. Additionally, using a soldering jig or fixture can help to stabilize the components and improve your accuracy during soldering.
Finally, always prioritize safety when working with soldering equipment. Wear protective eyewear to shield your eyes from solder splashes and fumes, and work in a well-ventilated area to avoid inhaling harmful fumes. Keep your work area clean and organized to prevent accidents and ensure that you have easy access to all of your tools and materials. By following these best practices, you can achieve successful soldering results and take on more complex and rewarding electronic projects in the future.